
Making an application is the core task a developer does in their daily life but often the question arises, where should they deploy their web application so that it is not heavy on their pockets, especially during their initial days, and would be conveniently used by their users.
Agenda
So in this post, we will be exploring various free nodejs hosting options for developers and deploy a basic nodejs app to each of those hosting providers and have a look at some of the pros and cons of each of the options.
Create a basic node js application
So let’s get started by initializing our project
npm init -yand then install our dependencies.
npm install expressThen, create a public directory inside our root directory and create an index.html file inside it.
<!DOCTYPE html>
<html lang="en">
<head>
    <meta charset="UTF-8">
    <meta http-equiv="X-UA-Compatible" content="IE=edge">
    <meta name="viewport" content="width=device-width, initial-scale=1.0">
    <title>Strapengine</title>
</head>
<body>
    <h2>
        Welcome to Strapengine.
    </h2>
    </h2>
</body>
</html>
After that create an app.js file in our root directory.
const express = require("express");

const app = express();

app.use(express.static("public"));

const port = 3000 || process.env.PORT;

app.get("/", (req, res) => {
  res.render(index.html);
});

app.listen(port, () => {
  console.log(`Server is up and running on PORT ${port}`);
});
So, our basic app is ready.
Heroku – free node js hosting plan
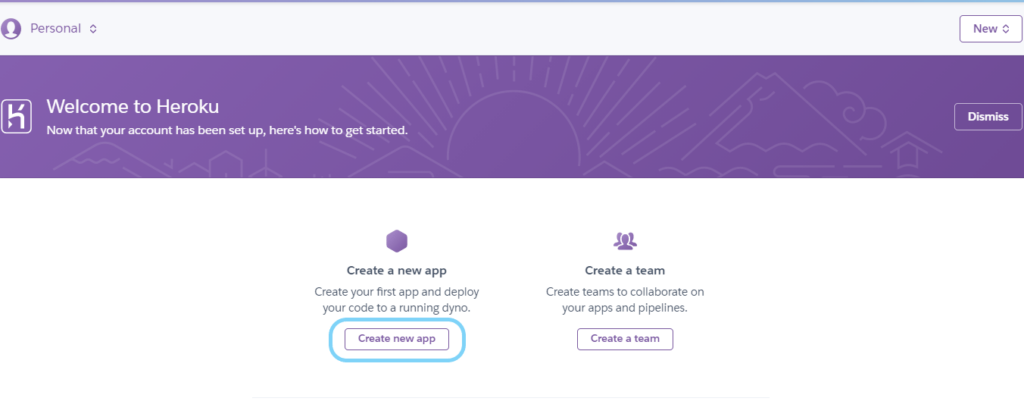
At first, let’s deploy our simple node js application to Heroku and for that, we have to create an account on Heroku by clicking here.
Then, we need to log in to our Heroku account and choose to create a new app option.
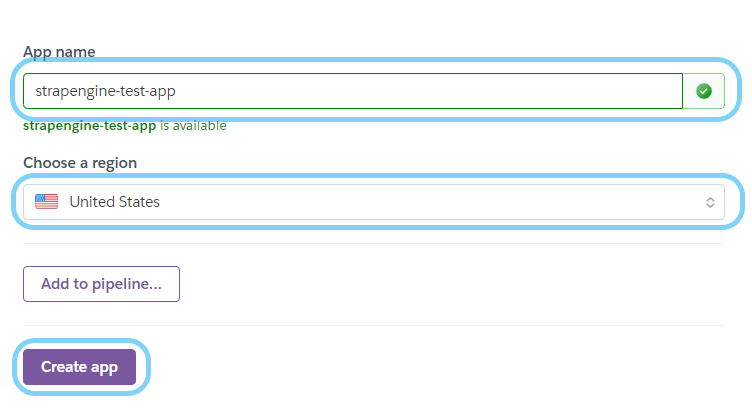
After that, we have to choose the name and region for our application and click on create an app.
And then, we have to install Heroku-CLI on our local computer so that we can push our application to Heroku.
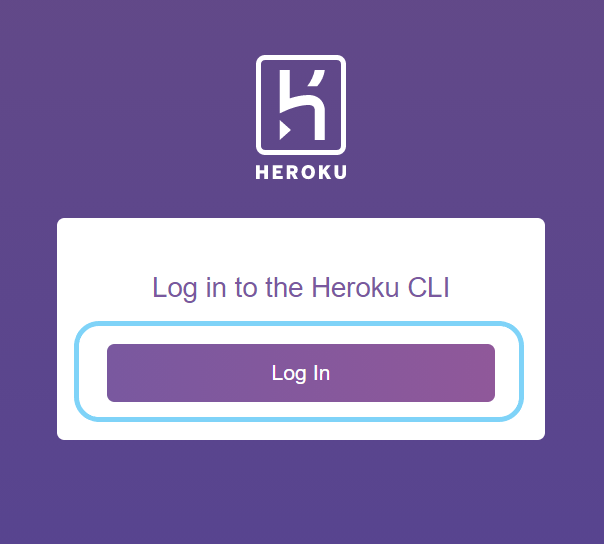
Now that, we have installed Heroku-CLI, open the terminal inside our code editor and log in using the command.
heroku loginDoing so will redirect us to the browser and where we need to log in with our Heroku account.
Once successfully logged in, we need to navigate into our Project’s directory.
cd myproject/Also, let’s not forget to create a file named “.gitIgnore” inside our root directory inside which we add the file and folder names that we don’t want to push to Heroku.
For instance, we will be adding /node_modules inside our .gitIgnore file.
Firstly, let’s initialize a new git repository.
git initAfter that, remotely access our app using the command.
heroku git:remote -a your app nameThen let’s add all the changes in the working directory to the staging area using the command and
git add .then we commit our changes.
git commit -am "your message"And at last, we push it to Heroku.
git push heroku master| PROS | CONS |
|---|---|
| No fees or maintenance costs for small projects. | Low network performance. |
| It allows focusing on code instead of infrastructure. | It is expansive for high-traffic applications. |
| Provides a powerful dashboard and CLI. | Not suitable for resource-intensive. |
| Provides a bunch of supportive tools. | Cold start is an issue. |
| Beginners and startup-friendly. | |
| No cap on no of requests. |

Glitch – free starter plan
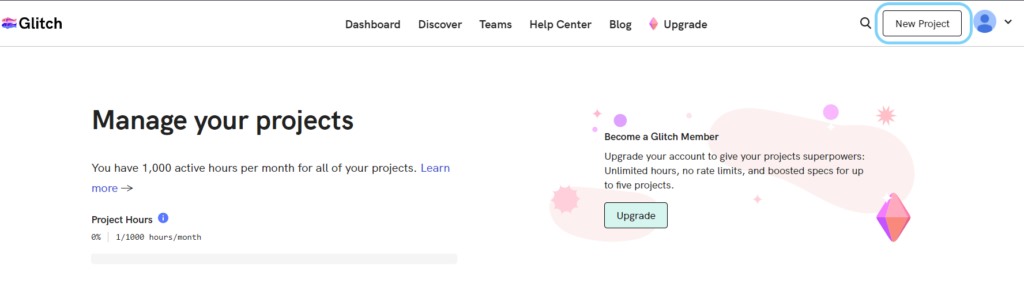
Next on our list of free node js hosting is Glitch so, let’s signup for an account.
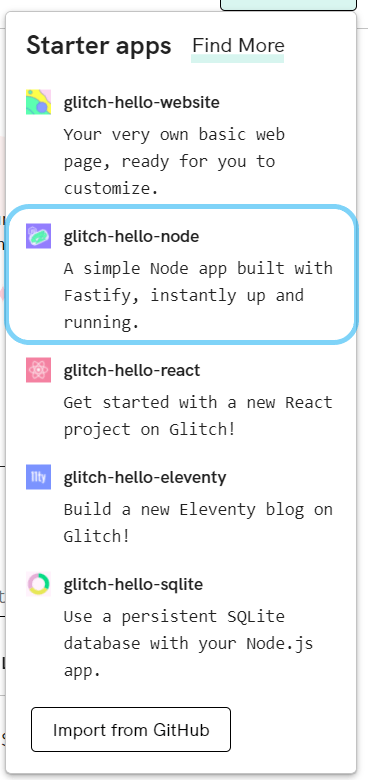
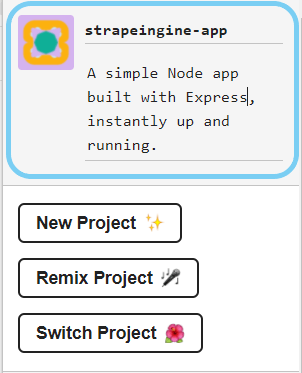
Then, choose the New Project option at the top right corner.
After that, choose the glitch-hello-node application from the starter apps dropdown menu.
Then choose the Project options from the top left of the dashboard.
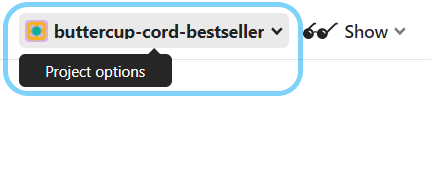
After that, let’s choose our project’s name and description
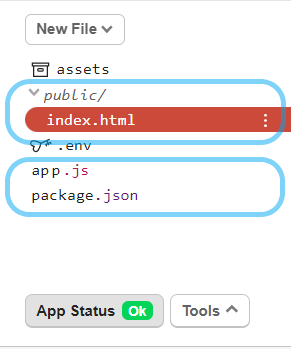
Then, we need to delete all files and folders.
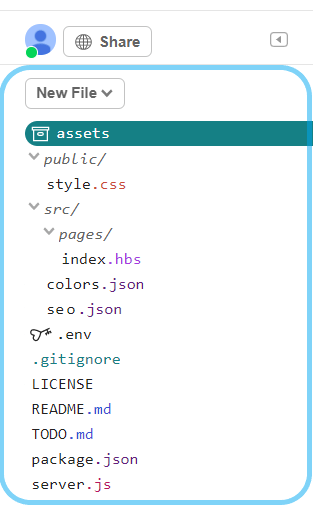
Now that we are ready we have to upload our app.js and package.json files to the root directory and index.html files to the public directory.
| PROS | CONS |
|---|---|
| No fees and maintenance costs for the free tier. | Lots of limitations with file uploads. |
| Provides an interactive user interface. | Project loading speed is quite slow and laggy. |
| Provides terminal for more control. | Provides less memory and storage with a free plan. |
| Very much user-friendly for beginners. | Projects and codes are public by default in the free plan. |
| Provide HTTPS out of the box. | Cold start is an issue |
Cloudflare Workers
Next in our list of free node js hosting is, Cloudflare Workers.
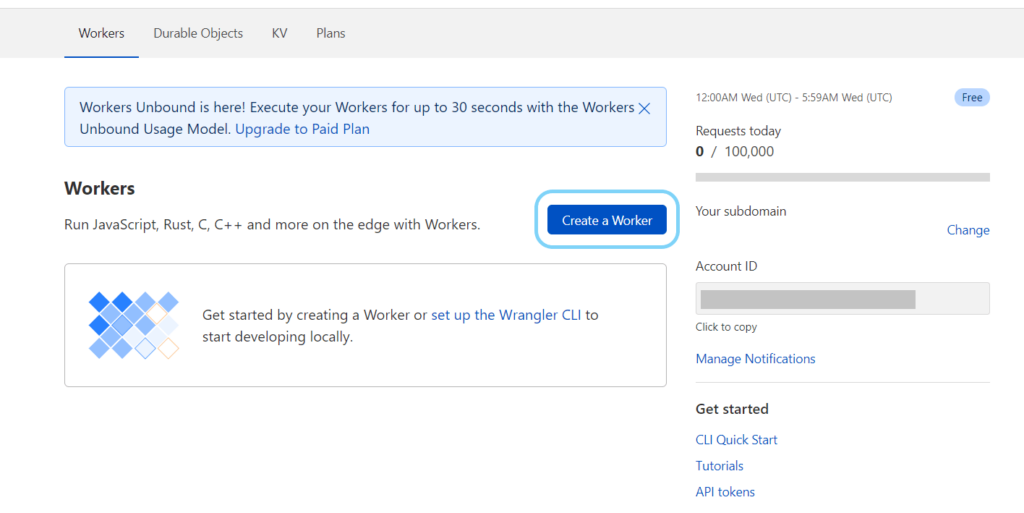
SignUp and create an account.
Then, we need to create a new Worker with CLI.
After that, we need to install Wrangler(it is a CLI tool designed for folks to use Cloudflare Workers) with the command.
npm i @cloudflare/wrangler -gThen we have to Authenticate Wrangler with our Cloudflare account using the command.
wrangler login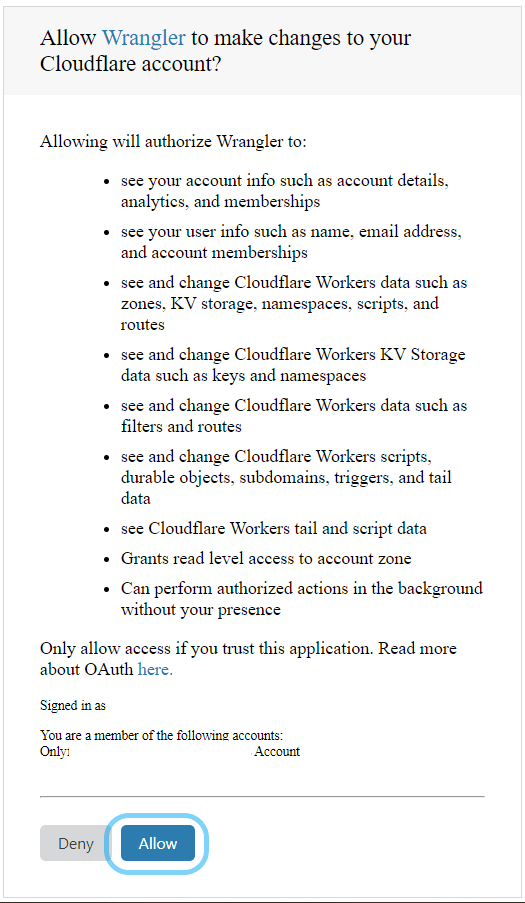
Before we deploy our application we need to create a new application.
Visit here to know more about Cloudflare Worker.
Because Cloudflare Worker doesn’t support node js native API or other 3rd party packages, we cannot directly upload our existing app as-is and will need to generate a new app using the command.
wrangler generate my-app https://github.com/cloudflare/worker-templateAs a result, it will create a template named “my-app” for our node application, inside which we will be having our index.js file.
After that, we will navigate to the newly created app directory using the command.
cd my-appAt last, we need to make changes to our index.js file as below.
addEventListener('fetch', event => {
  event.respondWith(handleRequest(event.request))
})
/**
 * Respond with hello worker text
 * @param {Request} request
 */
async function handleRequest(request) {
  return new Response('Hello from Strapengine!', {
    headers: { 'content-type': 'text/plain' },
  })
}
Then, publish it using the command.
wrangler publish| PROS | CONS |
|---|---|
| Provides both GUI as well as powerful CLI. | Doesn’t support even the basic node native APIs and frameworks like express. |
| Load balancers improve speed and reliability. | Not beginners friendly. |
| Provides HTTPS out of the box. | Has a cap on requests with the free plan. |
Railway.app
Last but not least we have railway.app on our list. And to deploy your application follow these simple steps
Step 1: Sign Up for the railway app with your email or GitHub.
Step 2: Install railway app CLI using the command.
npm install -g @railway/cliAfter installation, we have to log in to our railway app and get our authentication key.
railway login --browserlessOnce we have successfully logged in, we can initialize a new project using the command below.
railway initHere we are presented with two options.
- Starter template: This option has templates for the applications like the express app, discord bot, telegram bot, and many more.
- Empty project: This will create an empty project with the name provided.
In this case, we opted for the empty project. Once we are ready with our project we simply have to run the command
railway up| PROS | CONS |
|---|---|
| Provides both GUI as well as powerful CLI. | Provides less memory and storage with a free plan. |
| Beginner’s friendly. | Not suitable for resource-intensive apps. |
| A credit of $5 per month is provided for free. | It is expensive for high-traffic applications. |
Conclusion
In the end, we have successfully deployed our node js applications on multiple platforms for free, it was so much fun doing this, and I hope you people find it useful, If this post helped you to successfully deploy your application, please appreciate us in the comment section below. Also if you have any questions about this topic don’t forget to ask queries in the comment.
THANK YOU!

2 thoughts on “Free node js hosting options for your project”