As a developer working on a project, there are a lot of options to choose from when it comes to databases. Without a second thought, the most popular and widely used types would be Relational(SQL) and NoSQL. But still, sometimes neither SQL nor NoSQL meets our exact requirements. In that case, we may need to explore other options as well. One popular alternative idea that has been gaining traction over recent years is the use of Redis as a primary database.
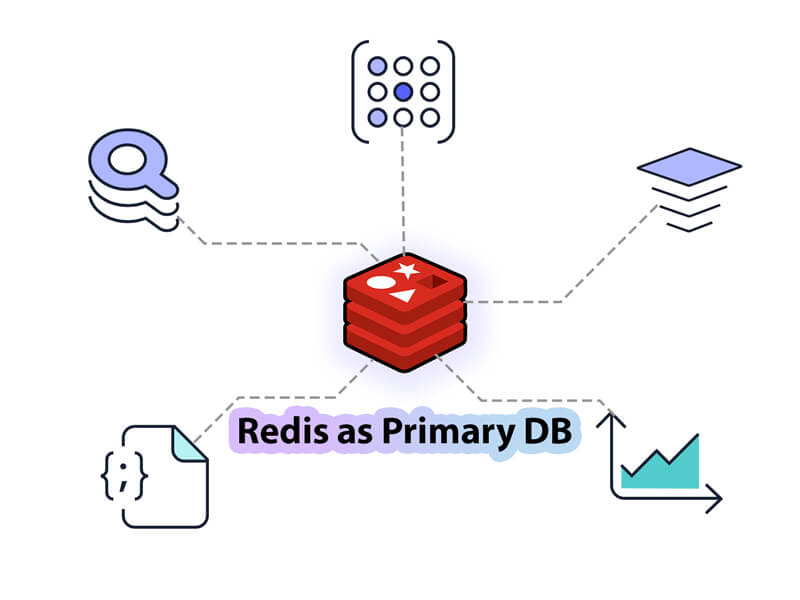
Many of us have known Redis to be a cache and have used it likewise. However, over the years Redis has evolved to be much more than a cache, as projects around the world have started using Redis as their primary database instead. It’s pretty much obvious that being an in-memory database Redis offers a high throughput and low latency compared to traditional databases which may be a requirement in a lot of scenarios.
Agenda – Build a project using Redis as a primary database
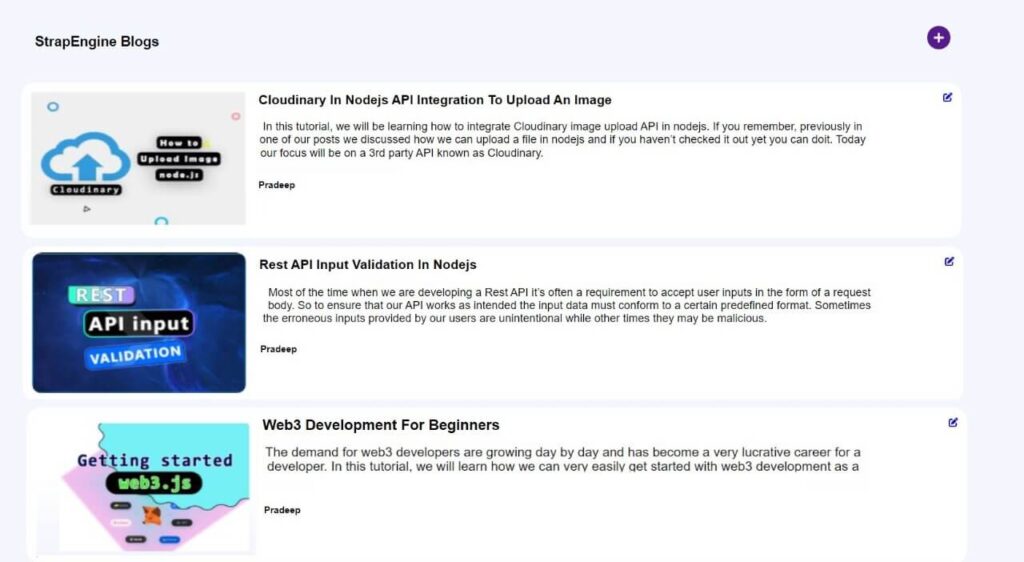
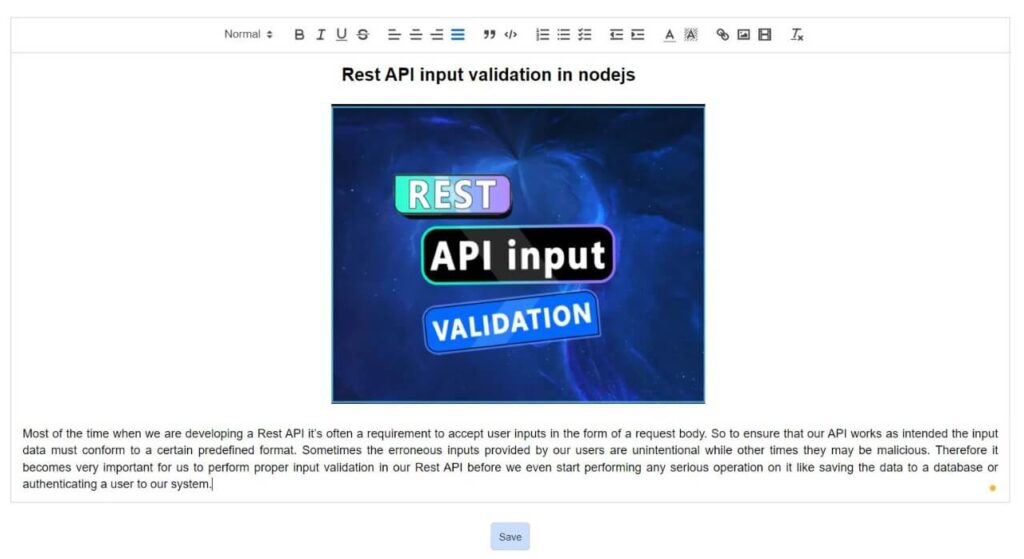
In today’s blog, we will be trying to create a simple Blog using Redis as our primary database in nodejs.
Now there are 2 approaches we can follow from here.
- Write our Data Access Object(DAO) for our models from scratch.
Requires an understanding of Redis commands to simulate CRUD operations but offers great flexibility. - Use an ORM to model our data.
Easy to use as it hides away the underlying complexity and exposes an easy interface to interact with Redis.
Here we will be going on with the 2nd approach(ORM). It will help us to create models and perform the operations on Redis as if we are using a traditional SQL or NoSQL database. Although there are a bunch of ORMs to choose from like Waterline, Nohm, etc we will be using JugglingDB for this tutorial.
So, without any further due, let’s start.
Project initialization and required package installation
Before we move further let’s initialize our project and install the required packages using the following commands.
npm init -ynpm install express cors [email protected] jugglingdb-redis@latestjugglingdb is cross ORM for nodejs and has support for a variety of databases via adapters. To make it work for Redis we will also need to install the Redis adapter for jugglingdb.
Note: We assume that Redis-server has already been installed on your machine.
Directory structure
BackEnd/
┣ controllers/
┃ ┗ BlogController.js
┣ models/
┃ ┣ Blogs.js
┃ ┗ index.js
┣ routes/
┃ ┗ BlogRoutes.js
┣ utils/
┃ ┗ index.js
┣ app.js
┣ package-lock.json
┗ package.json
As we can see above our app.js is the entry file of our app and all the models, controllers and routes will go in their respective directories. Inside the models’ directory, we have an index.js which takes care of our Redis-server connection and will also auto imports all our models.
index.js
This file creates a connection with Redis-server and auto imports all the models used in our project.
const Schema = require("jugglingdb").Schema;
const schema = new Schema("redis", {
  host: "localhost",
  port: 6379,
});

const fs = require("fs");
const path = require("path");
const basename = path.basename(__filename);
fs.readdirSync(__dirname)
  .filter((file) => {
    return (
      file.indexOf(".") !== 0 && file !== basename && file.slice(-3) === ".js"
    );
  })
  .forEach((file) => {
    file = path.basename(file, ".js");
    module.exports[`${file}Model`] = async () => {
      try {
        return await require(path.join(__dirname, file))(schema);
      } catch (error) {
        return error;
      }
    };
  });
Create models
Although in Redis we don’t have any concept of tables or collections, jugglingdb allows us to define Models in Redis too like just for any other database. With this layer of abstraction, it feels as if we are working with a regular SQL or NoSql database.
Blogs.js
Our Blogs Model will have the following attributes.
- author
- title
- content
- imageUrl
module.exports = (schema) => {
  const Blogs = schema.define("blogs", {
    author: { type: String, length: 20 },
    title: { type: String, length: 50 },
    content: { type: String },
    imageUrl: { type: String },
  });

  return Blogs;
};
Utils
JugglingDb functions are callback-based which makes it very hard to work with. To get around that we have implemented a basic function that converts those callbacks to promises. There are of course other ways to do the same thing or use a promised version of jugglingdb.
index.js
const { BlogsModel } = require("../models/index");
module.exports.callbackToPromise = async function (func, input) {
    const blog = await BlogsModel();
    return new Promise((resolve, reject) => {
        blog[func](input, (err, data) => {
            if (err) {
                reject(err);
            }
            resolve(data);
        });
    })
};
Controllers
BlogController.js
Our Blog controller will have the following 4 operations namely save, getOne, getAll, and update.
const { callbackToPromise } = require('../utils/index');
const { pagination } = require('../utils/paginate')

module.exports = {
    save: async function (req, res) {
       // saves the post into the database.
    },

    fetchOne: async function (req, res) {
      // finds the post from database with ID.
    },

    getBlogs: async function (req, res) {
        // finds all the posts in the database
    },

    update: async function (req, res) {
        // updates a post using ID.
    },
};
save
This method creates a new blog given. Also do note that an Id field gets automatically assigned to a post on successful creation.
save: async function (req, res) {
        try {
            const { content, author, } = req.body;
            const data = await callbackToPromise("create", { content, author });
            if ([null, undefined, 0].includes(data)) {
                throw new Error(`Error saving post`);
            }
            return res.status(201).send(`Post created!`)
        } catch (error) {
            return res.status(400).json({ message: `${error.message}` });
        }
    },
getOne
This method fetches a blog given an Id, which was was auto-generated while creating a new post.
const getOne = async function (req, res, next) {
    try {
      const data = await callBackToPromise("find", req.params.id);
      return res.status(200).send(data);
    } catch (error) {
      return res.status(400).send(error);
    }
},
getAll
When querying for blogs from a database we should always set limits to the number of records that can be fetched at a time. In a traditional SQL database, we would have normally implemented limit offset or even cursor-based pagination to improve performance but in Redis, we don’t have such a concept built-in. Specifically, jugglingdb only provides a limit-offset kind-ish API which we will use as of now.
getAll: async function (req, res) {
        try {
            let { page = 0 } = (req.query);
            page = +page

            if ([null, undefined, 0, ''].includes(page) || page < 0) page = 1;

            const posts = await callbackToPromise("all", { limit: 5, skip: (page - 1) * 5, order: "id DESC" });

            res.status(200).send(posts);
        } catch (error) {
            return res.status(400).send(error.message);
        }
    },
update
This method updates a Post given an id and data.
  const update = async function (req, res, next) {
    try {
      const post = await callBackToPromise("upsert", req.body);
      if (post == null) {
        throw new Error(`Post not found!`);
      }
      return res.status(202).send("Post updated!");
    } catch (error) {
      return res.status(400).send(error);
    }
  },
Once we are done creating all the functions we have to export them and our final code for BlogController.js looks something like the below.
const { callbackToPromise } = require('../utils/index');
const { pagination } = require('../utils/paginate')

module.exports = {
    save: async function (req, res) {
        try {
            const { content, author, } = req.body;
            const data = await callbackToPromise("create", { content, author });
            if ([null, undefined, 0].includes(data)) {
                throw new Error(`Error saving post`);
            }
            return res.status(201).send(`Post created!`)
        } catch (error) {
            return res.status(400).json({ message: `${error.message}` });
        }
    },

    getOne: async function (req, res) {
        try {
            const { id } = req.params
            const data = await callbackToPromise("find", id);
            if ([null, undefined, 0].includes(data)) {
                throw new Error(`Post not found!`)
            }
            return res.status(200).send(data);
        } catch (error) {
            return res.status(400).send(error.message);
        }
    },

    getAll: async function (req, res) {
        try {
            let { page = 0 } = req.query;
            page = +page
            if ([null, undefined, 0, ''].includes(page) || page < 0) {
                page = 1;
            }
            const posts = await callbackToPromise("all", { limit: 5, skip: (page - 1) * 5, order: "id DESC" });

            res.status(200).send(posts);
        } catch (error) {
            return res.status(400).send(error.message);
        }
    },

    update: async function (req, res) {
        try {
            const { id, content, author } = req.body;
            const post = await callbackToPromise("upsert", {id, content,author});
            if (post == null) {
                throw new Error(`Post not found!`);
            }
            return res.status(202).send("Post Updated!");
        } catch (error) {
            return res.status(400).send(error);
        }
    },
};
Create Routes
Last but not least we have to set up the routes of our app for which inside our routes directory we create our BlogRoutes.js.
BlogRoutes.js
const express = require("express");
const {
  save,
  getOne,
  getAll,
  update,
} = require("../controllers/BlogController");
const route = express.Router();

route.post("/blog", save);
route.get("/blog/:id", getOne);
route.get("/blog", getAll);
route.put("/blog", update);

module.exports = { route };
App.js
const PORT = process.env.PORT || 3000;
const express = require("express");
const { json } = express;
const { route: blogRoutes } = require("./routes/BlogRoutes");
const cors = require("cors");

const app = express();
app.use(json());
app.use(cors());
app.use(blogRoutes);
app.listen(PORT, () => {
  console.log(`Server is listening on port ${PORT}`);
});
Conclusion
Finally, we have reached the end of this tutorial. Here we have just scratched the surface of all the different ways you can use Redis as a primary database in your project. There are of course more efficient and better ways no doubt about it but for the sake of this article, we wanted to keep things simple from a beginner’s perspective. In case you have any doubts or questions please feel free to leave a comment down below otherwise show us your love by sharing it with your friends and on social media.


